|
|
||
|---|---|---|
| .. | ||
| Editor | ||
| Effects | ||
| Profiles | ||
| Resources | ||
| Shaders | ||
| Utility | ||
| Editor.meta | ||
| Effects.meta | ||
| LICENSE | ||
| LICENSE.meta | ||
| Profiles.meta | ||
| README.md | ||
| README.md.meta | ||
| Resources.meta | ||
| Shaders.meta | ||
| Utility.meta | ||
XPL: Unity引擎的高品质后处理库
X-PostProcessing Libray,简称XPL,是针对Unity引擎的高品质开源后处理库,旨在提供业界主流的高品质后处理特效的完整解决方案。目前已完美支持Unity Post-processing Stack v2,后续也将提供对Unity引擎URP/LWRP/HDRP的兼容支持。
X-PostProcessing Library (XPL) is a high quality post processing library for for Unity Post Processing Stack v2/LWRP/URP/HDRP
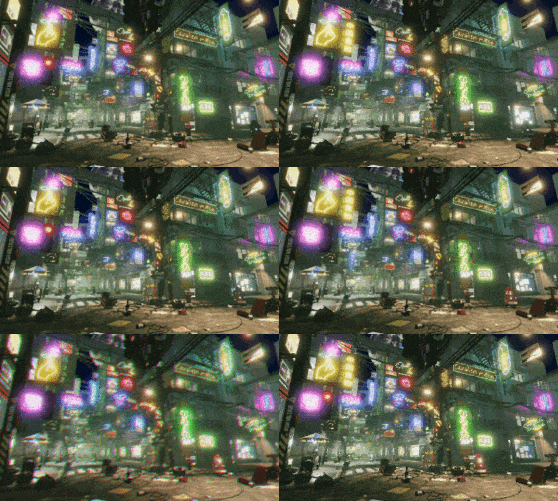
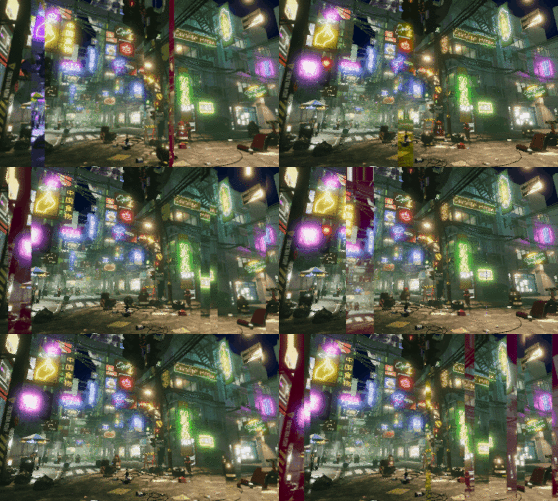
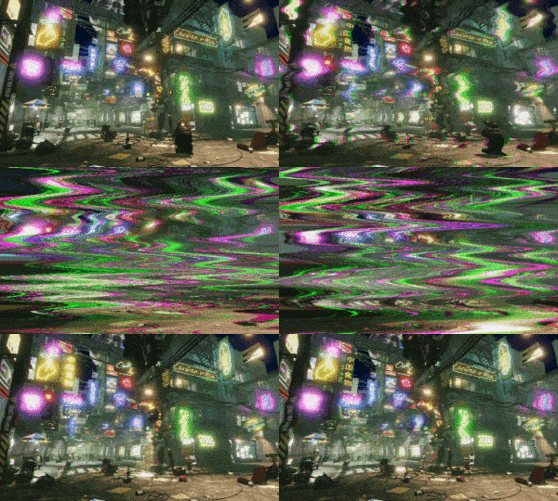
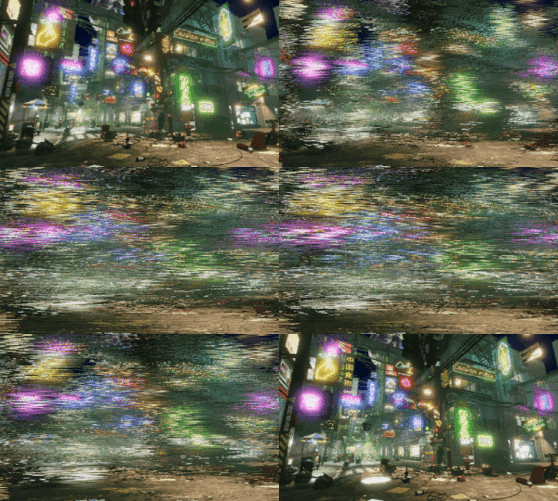
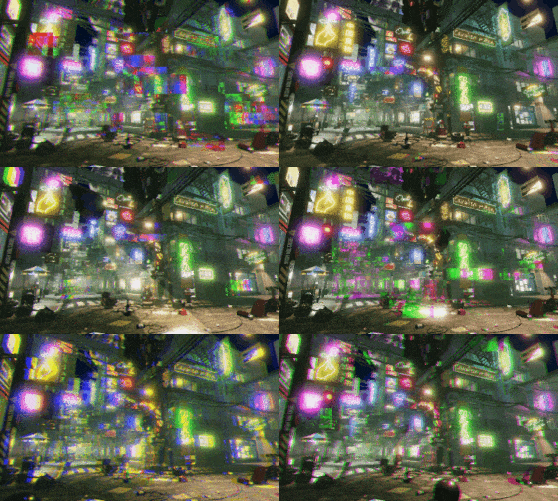
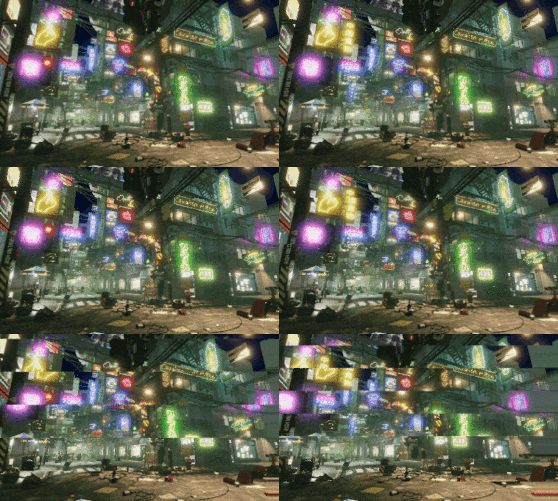
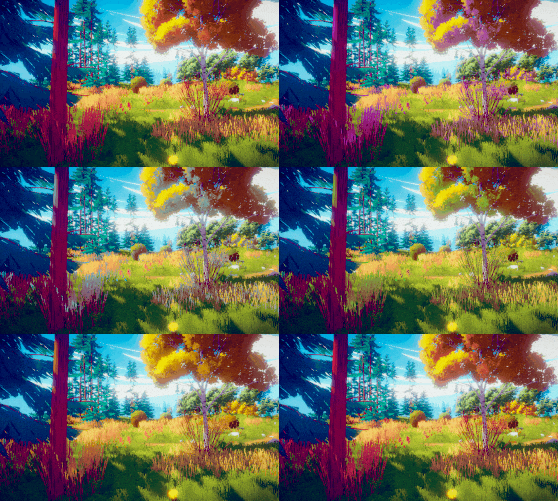
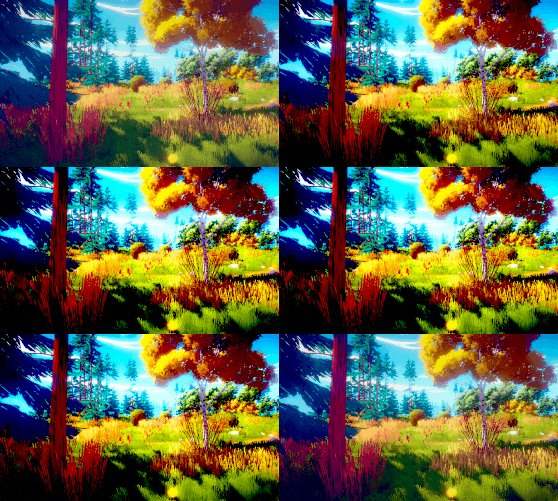
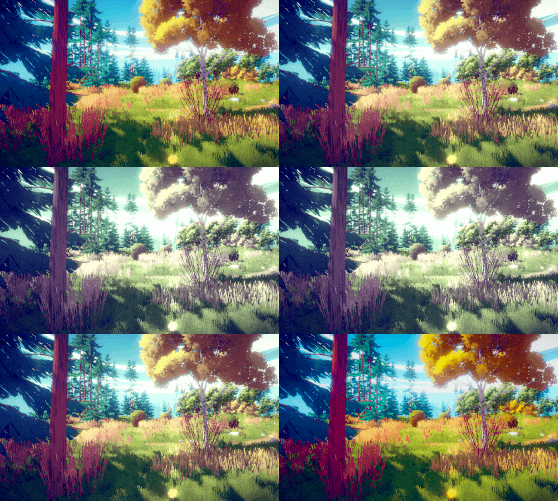
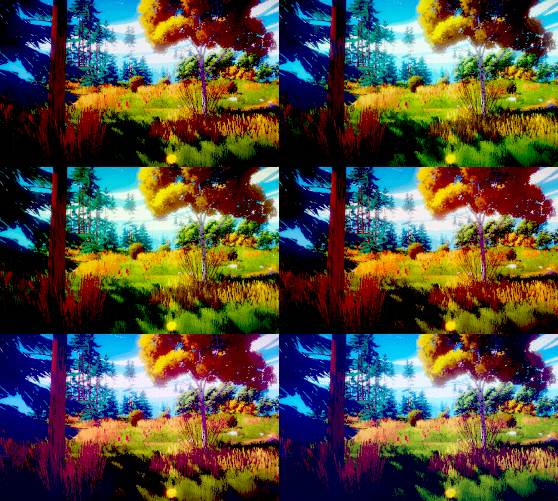

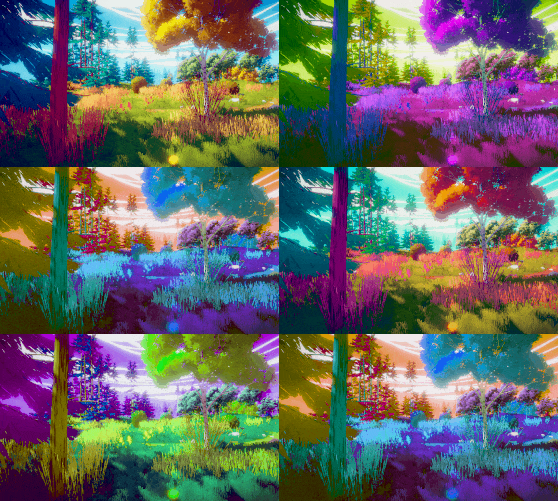






![]()
![]()
![]()
![]()
![]()
![]()
需要查看更多渲染效果图和每个特效的参数与属性,可以在下面的 目录 部分的具体后处理特效子页面中查看。
For more gallery , you can enter the specific post-processing effects sub-page in the Content section below.
1. 目录 | Content
-
1.1 图像模糊型后处理 | Blur Effects
-
1.2 像素化型后处理 | Pixelate Effects
-
1.3 边缘检测型后处理 | Edge Detection Effects
-
1.4 故障艺术型后处理 | Glitch Effects
- Glitch Image Block
- Glitch Image Block V2
- Glitch Image Block V3
- Glitch Image Block V4
- Glitch Line Block
- Glitch Analog Noise
- Glitch Digital Stripe
- Glitch RGB Split
- Glitch RGB Split V2
- Glitch RGB Split V3
- Glitch RGB Split V4
- Glitch RGB Split V5
- Glitch Scan Line Jitter
- Glitch Screen Jump
- Glitch Screen Shake
- Glitch Tile Jitter
- Glitch Wave Jitter
-
1.5 色彩调整型后处理 | Color Adjustment Effects
- Color Adjustment Bleach Bypass
- Color Adjustment Brightness
- Color Adjustment Contrast
- Color Adjustment Contrast V2
- Color Adjustment Contrast V3
- Color Adjustment Hue
- Color Adjustment Lens Filter
- Color Adjustment Saturation
- Color Adjustment Technicolor
- Color Adjustment Tint
- Color Adjustment White Balance
- Color Adjustment Replace Color
- Color Adjustment Replace Color V2
-
1.6 渐晕型后处理 | Vignette Effects
-
1.7 图像处理型后处理 | Image Processing Effects
-
Stylized Effects
-
Painting Effects
-
...
More effects and LWRP/URP/HDRP version will arrive soon.
2. 安装 | Installation
有两种主要的安装X-PostProcessing Library的方法:
-
【方法一】 克隆或下载此Repo,并直接使用Unity打开。建议可先从已设置好后处理的示例场景 Assets/Example/ExampleScene.unity 开始。
-
【方法二】 将X-PostProcessing 文件夹放置在项目Assets路径下的任一位置,并确保Post Processing Stack v2也位于项目中。
You have two main ways to install X-PostProcessing Library :
- [Method 1] Clone or download this repository , open with Unity Engine Editor and enjoy. It is recommended to start with the example scene Assets/Example/ExampleScene.unity .
- [Method 2] Place the X-PostProcessing folder anywhere in your project, make sure that Post Processing Stack v2 is in the project as well, and enjoy.
3. 使用 | Usage
post processing profile 有各种不同的修改和添加方式,最常规的方法是,选中一个post processing profile ,在Inspetor窗口下:
Add effect... > X-PostProcessing > 选择一种新的后处理
The new effect should be available for a post processing profile with different injection points,just like:
Add effect... > X-PostProcessing > Choose an effect
4. 环境 | Environment
-
建议使用Unity 2017.2+。
-
如果使用的是较旧版本的Unity(5.6 或 2017.1),则需要将此文件夹 替换为 pps v2 2.1.8。
-
Unity 2017.2+ is recommended.
-
if you use older versions of Unity (5.6 and 2017.1) , you need to replace this folder with pps v2 2.1.8.


